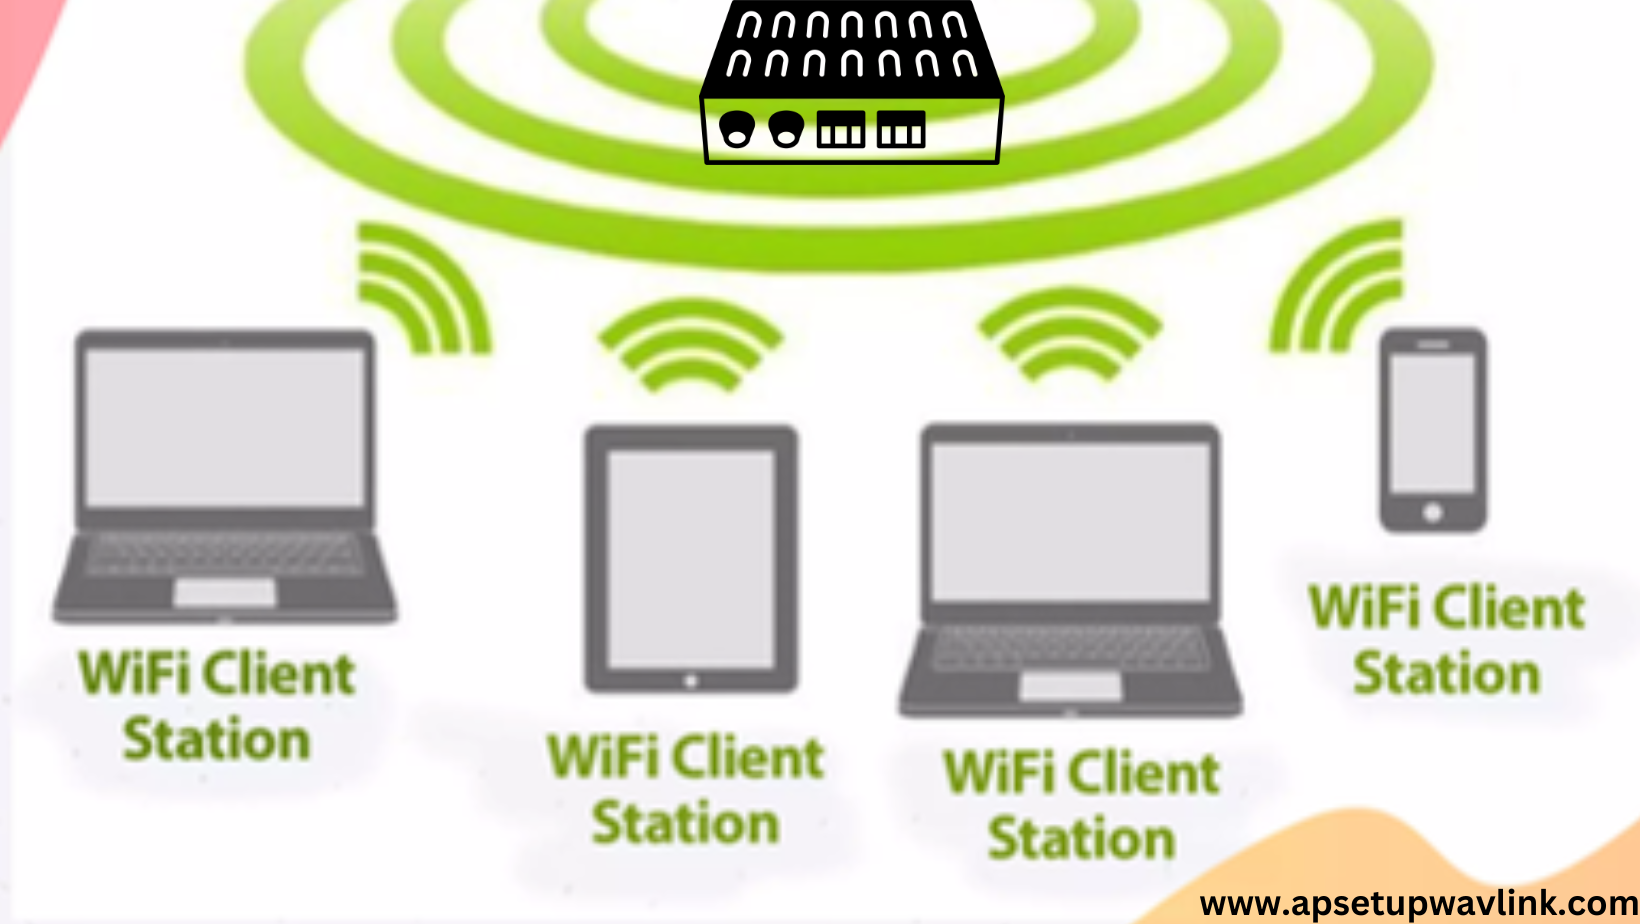
Slow internet connection with Wavlink extender can be a frustrating experience, especially in today’s fast-paced digital world where we rely heavily on seamless online connectivity for work, entertainment, and communication. If you’re experiencing sluggish internet speeds despite having a Wavlink extender installed, several factors could be contributing to this issue. In this comprehensive guide, we’ll delve into the reasons behind slow internet connections with Wavlink extenders, effective fixes to resolve the issue, and easy setup tips to optimize your network performance.
Understanding the Reasons for slow internet connection with Wavlink extender
1. Interference from Nearby Devices
One common reason for slow internet speeds with Wavlink extenders is interference from nearby electronic devices. Devices such as microwave ovens, cordless phones, and Bluetooth gadgets can operate on frequencies that overlap with your Wi-Fi signal, leading to interference and reduced network performance.
2. Signal Obstruction
Physical obstructions like walls, furniture, and large appliances can weaken the Wi-Fi signal transmitted by your Wavlink extender. The signal may struggle to penetrate through these obstacles, resulting in slower internet speeds, especially in areas far from the extender’s location.
3. Outdated Firmware
Outdated firmware on your Wavlink extender can also contribute to slow internet connections. Manufacturers regularly release firmware updates to address bugs, improve performance, and enhance security. Failing to update your extender’s firmware can lead to compatibility issues and decreased network efficiency.
4. Overloaded Network
An overloaded network with too many connected devices can strain your Wavlink extender, causing it to prioritize bandwidth allocation inefficiently. This can result in slower speeds for all connected devices, especially during peak usage hours when network traffic is high.
Effective Fixes for slow internet connection with Wavlink extender
1. Optimize Extender Placement
To mitigate signal interference and obstruction, ensure that your Wavlink extender is strategically placed in a central location within your home or office. Position it away from electronic devices and physical obstacles to allow for optimal signal transmission.
2. Update Firmware Regularly
Keep your Wavlink extender’s firmware up to date by regularly checking for and installing firmware updates released by the manufacturer. This ensures that your extender remains compatible with the latest technologies and operates at peak performance levels.
3. Reduce Network Load
Limit the number of connected devices on your network to prevent overloading the Wavlink extender. Disconnect unused devices and prioritize bandwidth allocation for essential tasks to improve overall network speed and stability.
4. Perform Channel Optimization
Configure your Wavlink extender to operate on the least congested Wi-Fi channel to minimize interference from neighboring networks. Use Wi-Fi analyzer tools to identify the optimal channel and adjust your extender’s settings accordingly for enhanced performance.
Call at +1-323-471-3045 or [email protected] for your queries. Our technical experts will assist you anytime.
Easy Setup Tips for Wavlink Extender Optimization
1. Follow Manufacturer’s Instructions
Refer to the user manual or online guides provided by Wavlink for step-by-step instructions on setting up your extender. Follow the recommended setup process to ensure proper configuration and optimal performance.
2. Enable Dual-Band Functionality
If your Wavlink extender supports dual-band functionality, enable it to take advantage of both 2.4GHz and 5GHz frequency bands. This allows for greater flexibility in connecting devices and helps alleviate congestion on your network.
3. Use WPS for Quick Setup
Utilize the Wi-Fi Protected Setup (WPS) feature on your Wavlink extender for hassle-free installation. Simply press the WPS button on your router and extender to establish a secure connection automatically without the need for complex configuration.
4. Implement Security Measures
Protect your network from unauthorized access by enabling WPA2 encryption and setting strong, unique passwords for both your router and Wavlink extender. This helps safeguard your data and ensures a secure online experience for all connected devices.
By addressing these common issues and implementing the recommended fixes and setup tips, you can effectively optimize your Wavlink extender for faster and more reliable internet connections. Remember to regularly maintain and update your extender to ensure continued performance improvements over time.
Can’t access ap.setup during wavlink wifi extender configuration?
If you’re having trouble accessing “ap.setup” during the configuration of your Wavlink WiFi extender, there are a few troubleshooting steps you can try:
- Check the Connection: Ensure that your Wavlink extender is properly connected to your computer or mobile device via Ethernet cable or wirelessly.
- Verify the IP Address: Instead of using “ap.setup”, try accessing the configuration page using the IP address of your Wavlink extender. This address is usually printed on a sticker on the device itself or in the user manual. It typically looks like “192.168.x.x”.
- Reset the Extender: If you’re still unable to access the configuration page, you may need to reset your Wavlink extender to its factory settings. There should be a reset button on the device that you can press and hold for a few seconds to initiate the reset process.
- Disable Proxy or VPN: Sometimes, proxy servers or VPN connections can interfere with accessing the configuration page. Try disabling any proxy or VPN connections on your computer or mobile device before attempting to access the page again.
- Use a Different Browser or Device: Try accessing the configuration page using a different web browser or device. Sometimes, compatibility issues can arise with certain browsers or devices.
- Contact Support: If none of the above steps work, you may need to contact Wavlink’s customer support for further assistance. They can provide you with specific troubleshooting steps tailored to your extender model and help resolve any issues you’re experiencing. ( Call at +1-323-471-3045 or [email protected] for your queries. Our technical experts will assist you anytime.)
By following these steps, you should be able to troubleshoot and resolve any issues you encounter while trying to access “ap.setup” during the configuration of your Wavlink WiFi extender.
FAQs for Slow Internet Connection with Wavlink Extender
1. Why is my internet connection slow when using the Wavlink extender?
Slow internet connection with the Wavlink extender can occur due to various reasons such as interference, signal obstruction, outdated firmware, or improper placement of the extender.
2. How can I improve the internet speed with my Wavlink extender?
To enhance internet speed, try relocating the extender closer to the router, ensuring there are minimal obstructions between them. Additionally, updating the extender’s firmware and adjusting its settings for optimal performance can help.
3. What are some common sources of interference affecting Wavlink extender performance?
Common sources of interference include other electronic devices, neighboring Wi-Fi networks, thick walls, metal objects, and microwave ovens. Placing the extender away from these sources can mitigate interference issues.
4. How do I update the firmware of my Wavlink extender?
To update the firmware, access the Wavlink extender’s web interface using a web browser. Navigate to the settings or administration section, and look for the firmware update option. Follow the on-screen instructions to download and install the latest firmware.


