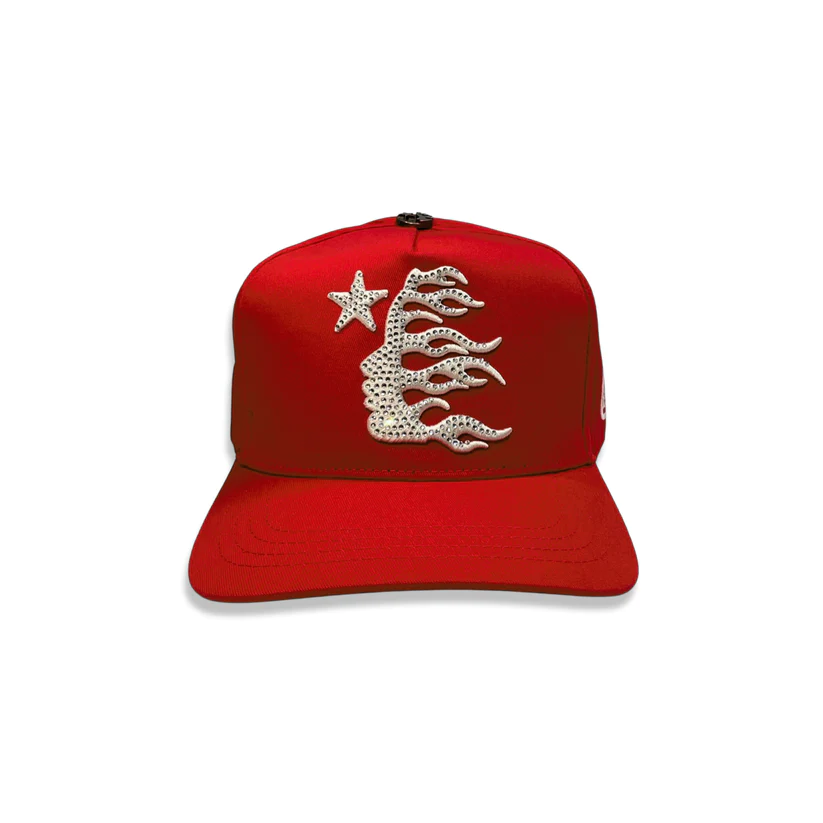
Out of everything that can be customized, caps are something that rarely crosses our mind. Yet a simple touch of master cap embroidery can significantly elevate their appeal. Have you ever wondered how to add that extra charm to your hats, turning them into unique statements of style?
Cap embroidery may seem like a challenge, given that stitching hoops are primarily designed for flat surfaces. But don’t worry! While it requires some special attention and techniques, embroidering caps is entirely possible too!
Mastering cap embroidery is a skill that pays off, whether you learn it for business or pleasure. In this article, we’ll guide you through important steps to master cap embroidery. So, get ready to learn how to transform your ordinary hats into extraordinary artwork. Let’s begin!
Choosing The Right Hat For Master Cap Embroidery
Although there is an extensive range of hat styles, most caps can typically be classified into three primary categories, i.e.:
-
One-Piece Front (OPF) Caps
Also, known as trucker hats, OPF caps feature a single foam-laminated backing that provides structural support to the cap. The remaining parts of the hat are made of mesh. Thanks to their laminated backing and absence of a center seam, OPF hats are generally easy to hoop and embroider.
-
Sports Caps
Sports caps are widely regarded as the most favored style, particularly for needlework purposes. These hats feature a center seam running down the mid of the front panel. Additionally, sports caps are also equipped with a laminated backing, providing them with the necessary structure. However, you will require logo digitizing for embroidery if you want to enhance a sports cap since it’s difficult to sew designs on them by hand.
-
Varsity Caps
Varsity hats, in contrast to OPF hats, typically have a snugger fit as they lack any laminated backing on the front panel for added structure. Due to this design, these hats may have a bit more movement, making proper hooping crucial for embroidery work.
Though some of these caps require more skills, all of them can be embroidered. But if you are new to this, we suggest moving forward with varsity caps. The lack of laminated backing makes them the easiest to embroider by hand!
Step-By-Step Process Of Master Cap Embroidery
-
Hooping The Hat
Step 1: Begin by detaching the cap embroidery hoop’s inner and outer rings.
Step 2: Position the inner ring under the cap’s fabric.
Step 3: Gently loosen the screw of the outer ring and position it above the inner ring and fabric. Be cautious not to trap the hat’s edge within the hoop, as this may result in uneven fabric grip.
Step 4: Verify the placement of the fabric to ensure satisfaction, and then firmly pull the fabric taut within the hoop.
Step 5: Once the fabric is appropriately tensioned, tighten the screw securely to hold everything in place.
-
Transferring The Design
Step 6: Transfer your design using water-soluble paper or a stabilizer, as directly tracing designs on the cap can be difficult. The stabilizer even allows you to print your pattern directly onto it since it comes with printable sheets.
Step 7: Sample tests the marker or printed stabilizer on a scrap cloth before beginning the needlework to be sure the ink won’t leak onto the cap when you wash it away.
Step 8: For text embroidery, it’s best to use a ruler to mark out the desired text placement to avoid crooked embroidery. You can use either a water-soluble marker or tape to define the area where the embroidery should go. Even the hat embroidery service providers do this, so make sure you don’t skip this step.
P.S: Marking a straight line on the hat within the hoop can be difficult. So, do this step before placing the hat in the embroidery hoop.
Step 9: Use the center seam as a helpful guide to ensure your design is placed accurately in the middle when embroidering directly on the cap’s front.
-
Embroidering The Cap
Step 10: Start by creating a basting stitch around the stabilizer to provide additional security to the fabric. You can remove this temporary stitch later. Although the stabilizer is sticky, using a small piece may cause the corners to lift, so a few extra stitches will help keep it in place during the embroidery process.
Step 11: Start embroidering through the design, making stitches as necessary.
Step 12: Once you are done embroidering, secure and trim any loose threads at the back.
Step 13: Thoroughly rinse it with warm water, ensuring the removal of all stabilizers, especially from small crevices.
Step 14: Let the hat air dry.
Read more: Guida definitiva al marketing B2B su Instagram
Tips For Successfully Hand-Embroidering Caps
- Ensure that your design is 53mm or smaller in height. This clever technique can have a significant impact. However, for low-profile or unstructured caps, consider limiting your design to a maximum height of 51mm.
- For two-color letters, embroider the inside first, then the outside, before moving on to the next letter. This approach ensures a neat and cohesive result for your embroidery work.
- Before embroidering on a structured hat, steam press the item using a regular iron. This process softens the cap’s front, flattens it, and ensures a tighter fit. Hence, facilitating the embroidery process.
- Ensure you use a high-quality and well-maintained hoop when embroidering hats. Using a cheap or warped hoop can cause stitching difficulties since it fails to keep the cap adequately tight. This could lead to loose and uneven embroidery results.
- For the best results, change your embroidery needle frequently. The frequency of the needle varies and depends on factors such as the complexity of the design, the stiffness of the hat material, and the quality of the needle being used. Keep an eye on your needle’s performance and replace it as needed to ensure smooth and high-quality needlework.
Key Takeaway: Step Up Your Style Game By Customizing Your Hats
The idea of embroidering caps sounds intimidating, we will give you that. But trust us, once you learn how to do it, it’s so much fun! Besides, now that you have this comprehensive guide at your disposal, what’s the point in wearing plain, simple hats?
So, consider this a cue to gather all your embroidery supplies and start personalizing your caps. The satisfaction of seeing your designs come to life on these wearable canvases will undoubtedly bring you joy. So, get started today, and we promise you are going to love it!