Did you move from Mac Outlook to Apple Mail? And now wondering how to import Outlook for Mac archive.olm file to MBOX file on MacBook? Looking for a trouble-free technique for the same? No worries, go through the entire article and you will definitely able to import Mac Outlook archive.olm file to MBOX on MacBook.
Outlook is a widely used email application and is quite popular among Mac and Windows users. It has gained popularity as personal information manager because it helps in managing user’s emails, contacts, calendars, and other items. However, it not only manages the database but also allow users to archive them in a file at desired location on the system.
Let’s see the steps archive Outlook for Mac database.
Steps to Export items to an archive file in Outlook Mac
Go to Tools and choose Export option.
Note. In case you unable to find Export option, then make sure you are using the latest Mac Outlook version. On the Help menu in Outlook, click Check for Updates. If all Outlook updates are applied and you still not able to find the button, then go to File and look for the Export option.
Now, Export to Archive File (.olm) window will appear. Choose the items to export and click Continue.
On the top Save as box provide the specific name you want to give to archive file. Choose Downloads appearing under Favourites and click Save.
You will receive a notification after the export process successfully finishes. Last, press Finish button.
At times, these steps are used when a user is changing the email platform. Because, many times the change in employment or change in the organization needs require migration of email applications as well. That is why many users sometimes need to move to Mac Mail from Outlook for Mac email client
Why Importing Outlook for Mac Archive.olm File to MBOX is Difficult?
The importing process is difficult because every email application uses different file saving format to save the archive database.
In the above section, we have discussed the archive procedure of Outlook for Mac. The email client make use of OLM file to store the items of user’s account.
Apple Mail is also popular as Outlook Mac and both are similar to some extent. Many Mac users are using Apple Mail email client because it is a pre-installed email application and contains quick configuration steps. So, it will not waste the time of users, helping them to handle the email communication immediately.
The way Outlook for Mac uses OLM file for data storage. In the same way, Apple Mail supports MBOX format to store the list of user’s emails.
So, one will realize that each email program has a different file format and only the supported files will be acceptable by the respective email client.
Therefore, in order to import Outlook for Mac archive.olm file to MBOX, one need to perform the conversion of OLM files to MBOX
How to Import Outlook for Mac Archive.olm File to MBOX File on MacBook?
The quick way to import Outlook for Mac archive.olm file to MBOX on MacBook is MacMister OLM to MBOX Converter. The application is user-friendly, cost-effective, and secure. Both professional and non-professional users can operate the software effortlessly and import unlimited OLM files to MBOX at once. Even, the steps are minimum which will save the time and energy of users and complete the conversion quickly.
Moreover, the software has features that helps in attaining the incredible results in a short span of time. The Free Download version is available in the tool which users can take help of to understand the working of the software for free.
Working Steps to Import Outlook for Mac archive.olm file to MBOX file on MacBook
Step 1. Install and run MacMister OLM to MBOX Tool on a MacBook.
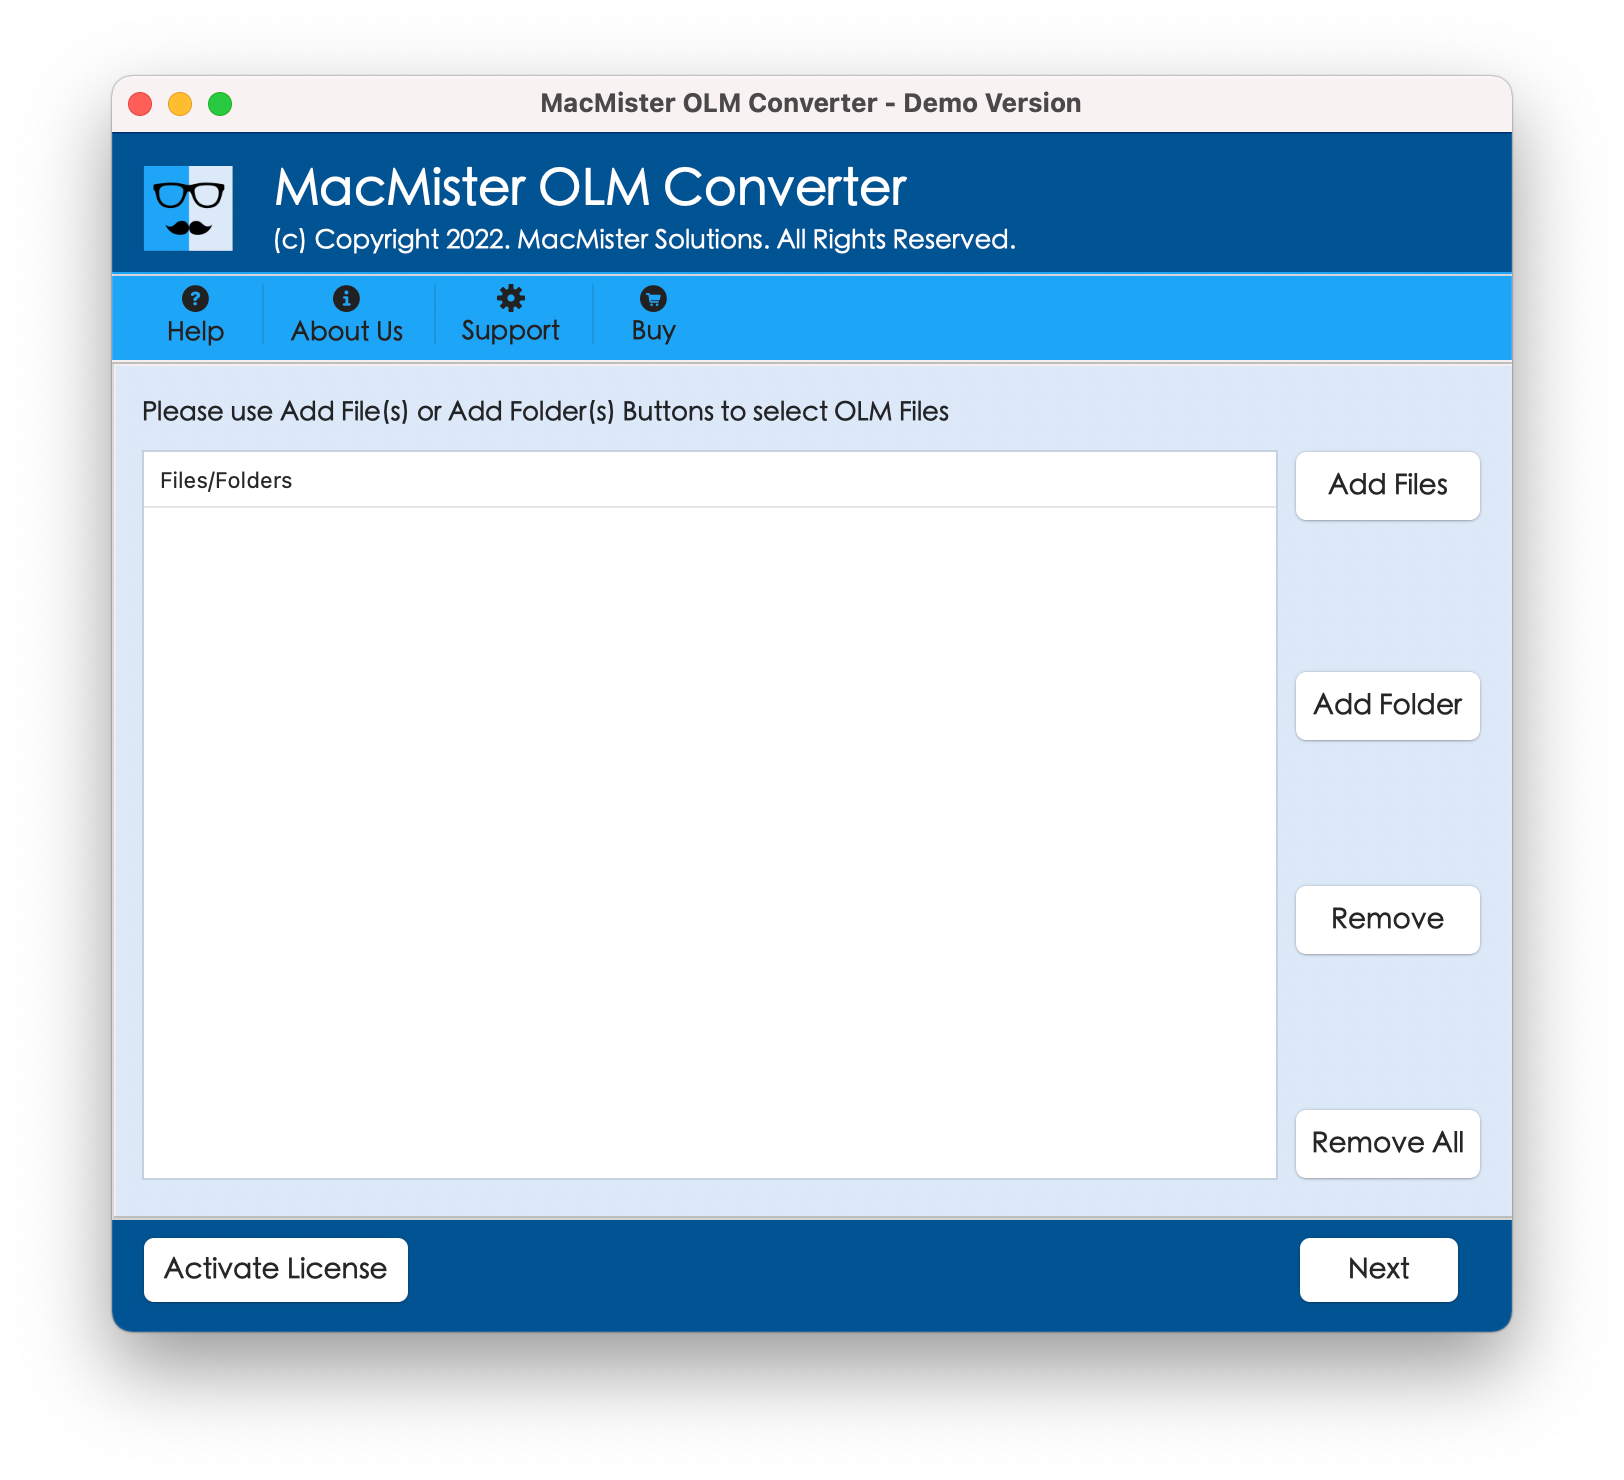
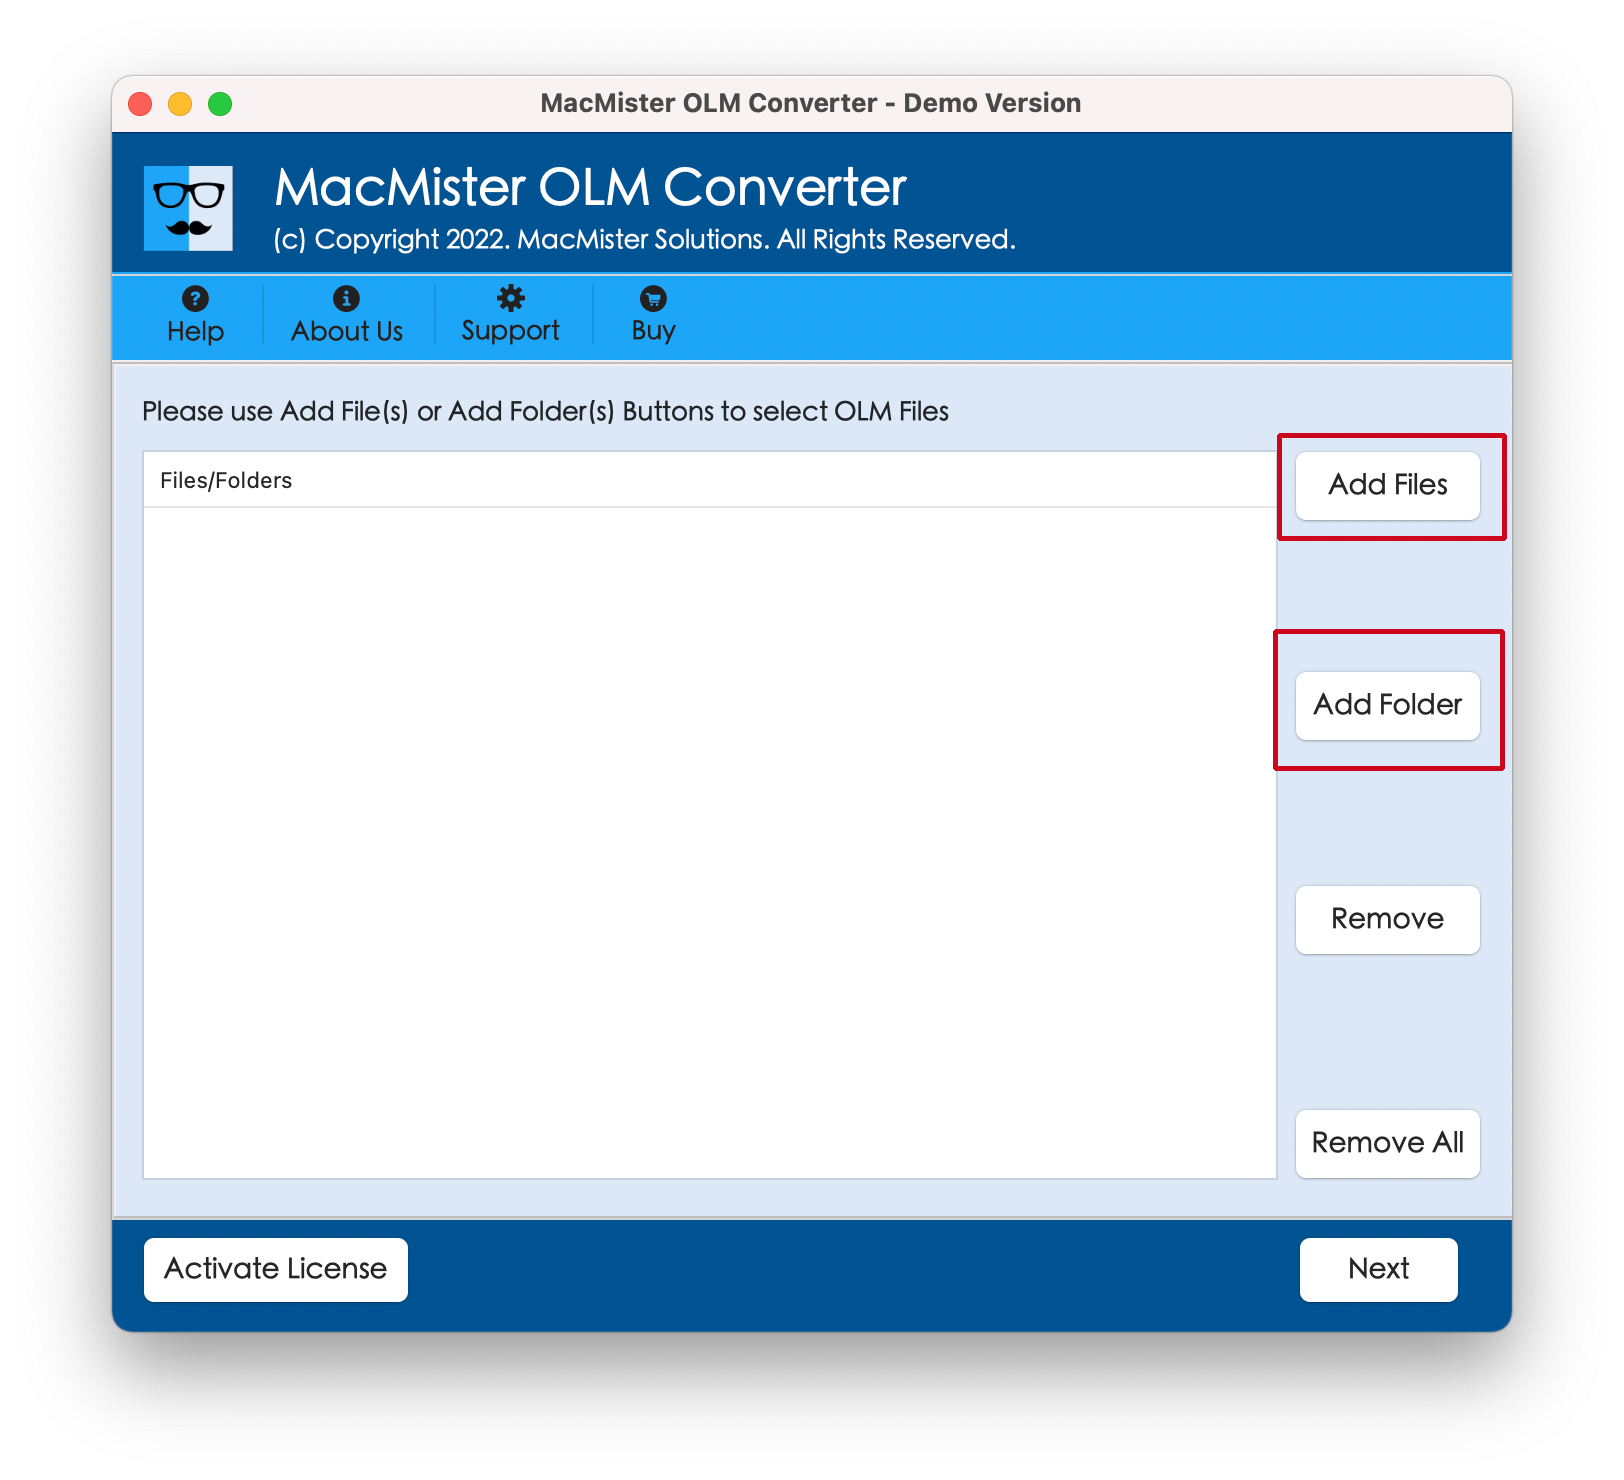
Step 2. Use Add File(s) button to add the required OLM files on the tool. Use Add Folder button to add a folder having unlimited OLM files on the tool and click on Next.
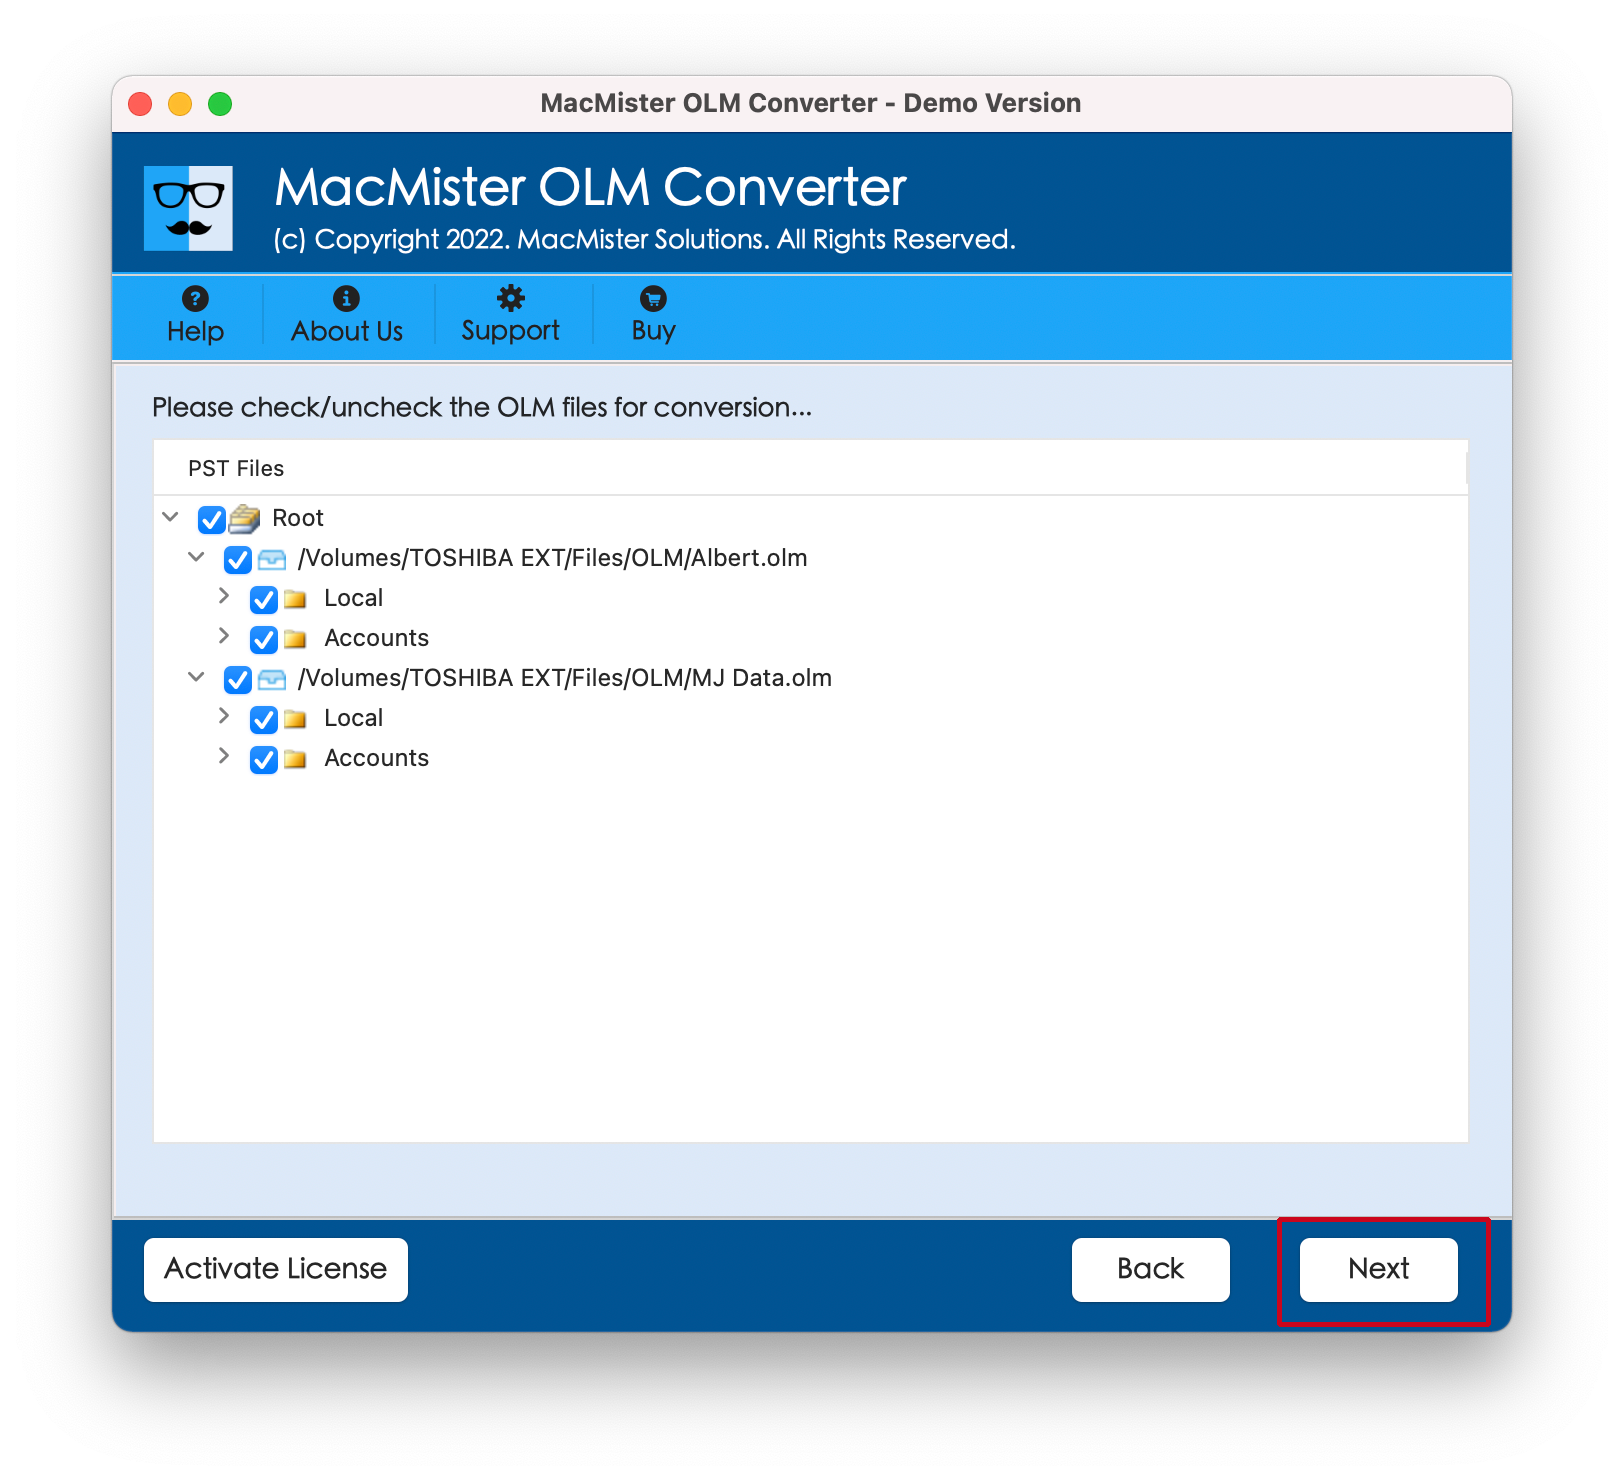
Step 3. The OLM files will start listing on the software panel with checkboxes one by one. You can use the checkbox if you want to import selective archive.olm files to MBOX, if needed. Click Next.
Step 4. Click on the Select Saving Options and select MBOX from the menu.
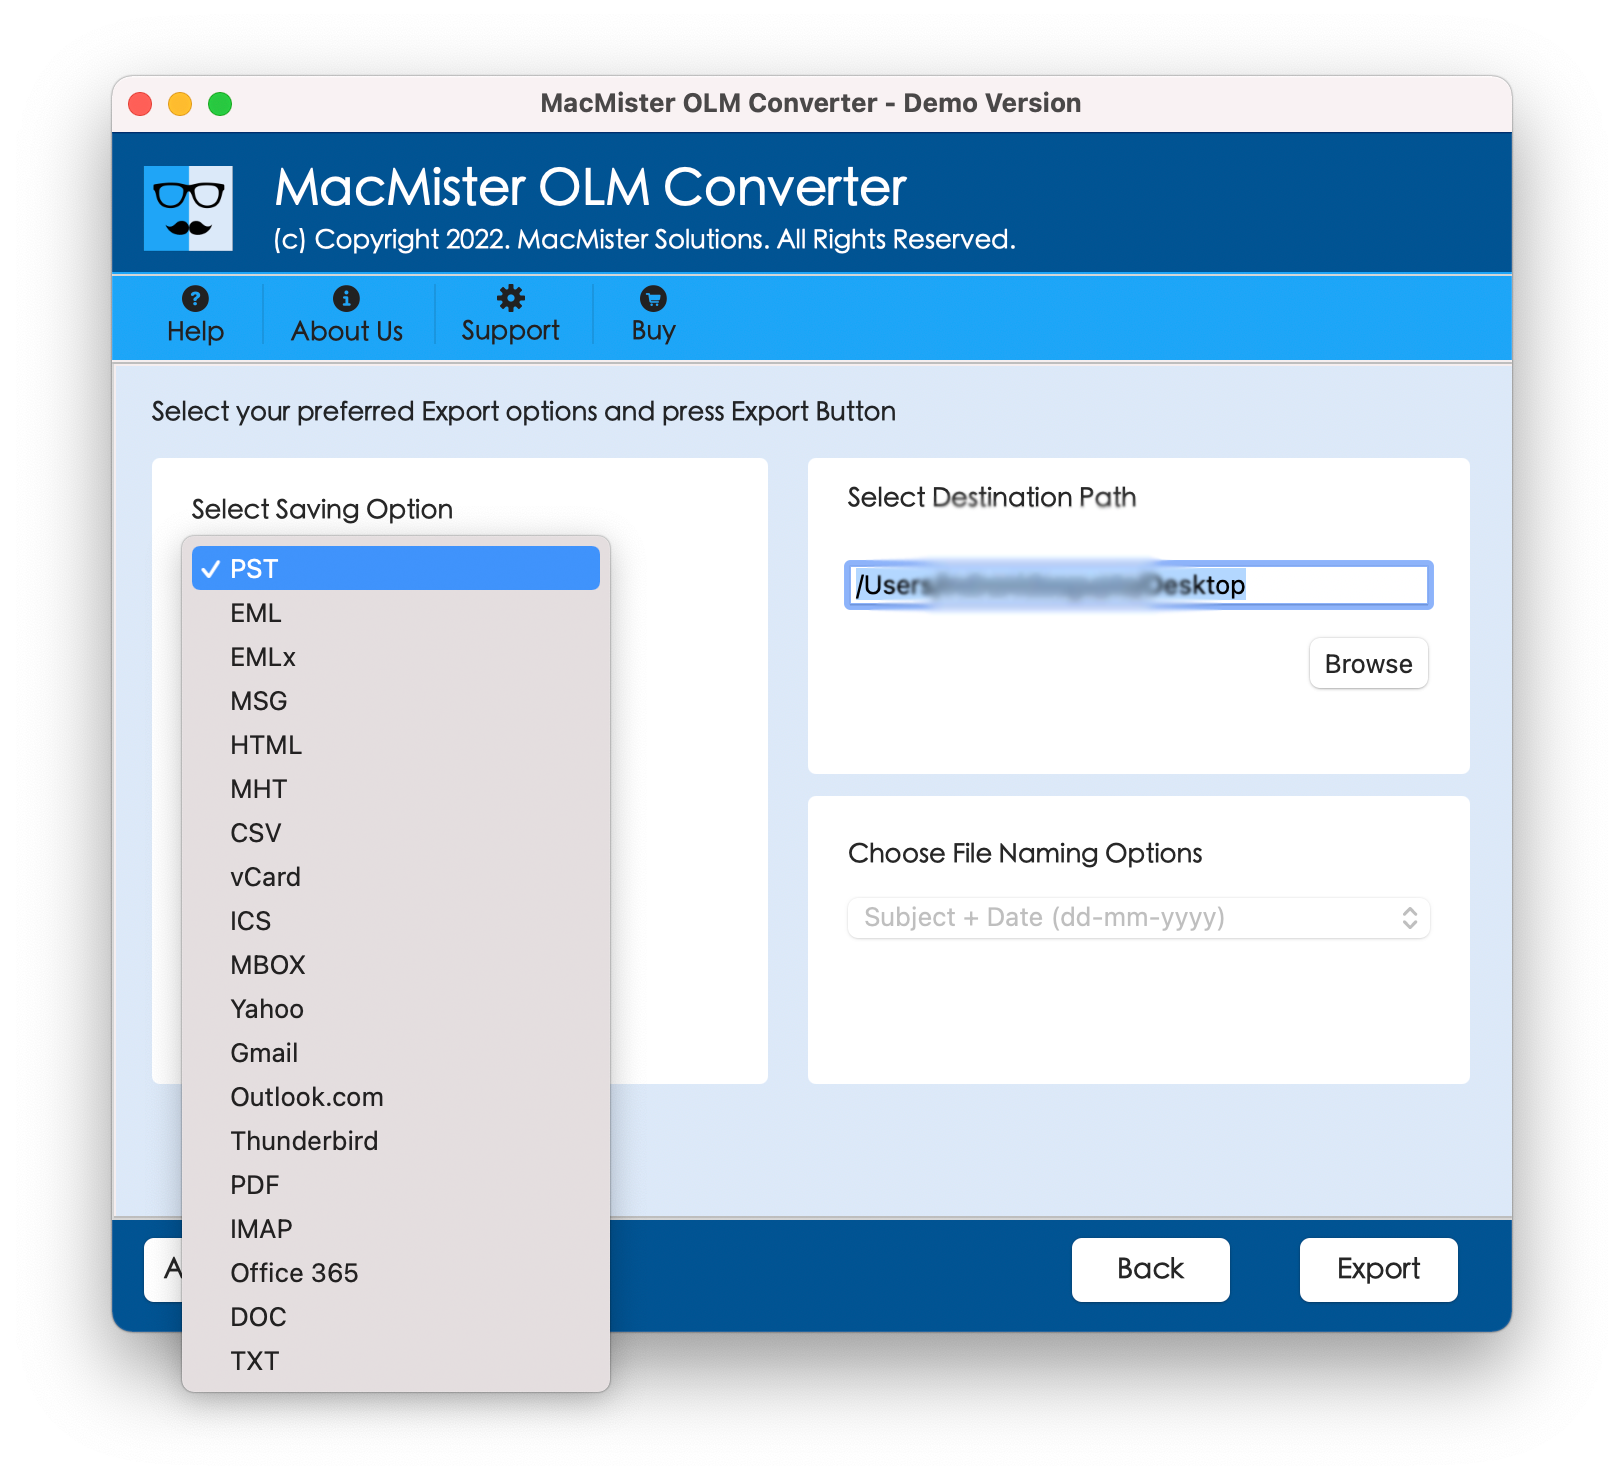
Step 5. Set the other MBOX options according to the requirements and click on Export button to start the process.
Step 6. The process will start and a Live Conversion Window will appear showing the ongoing conversion progress of OLM files.
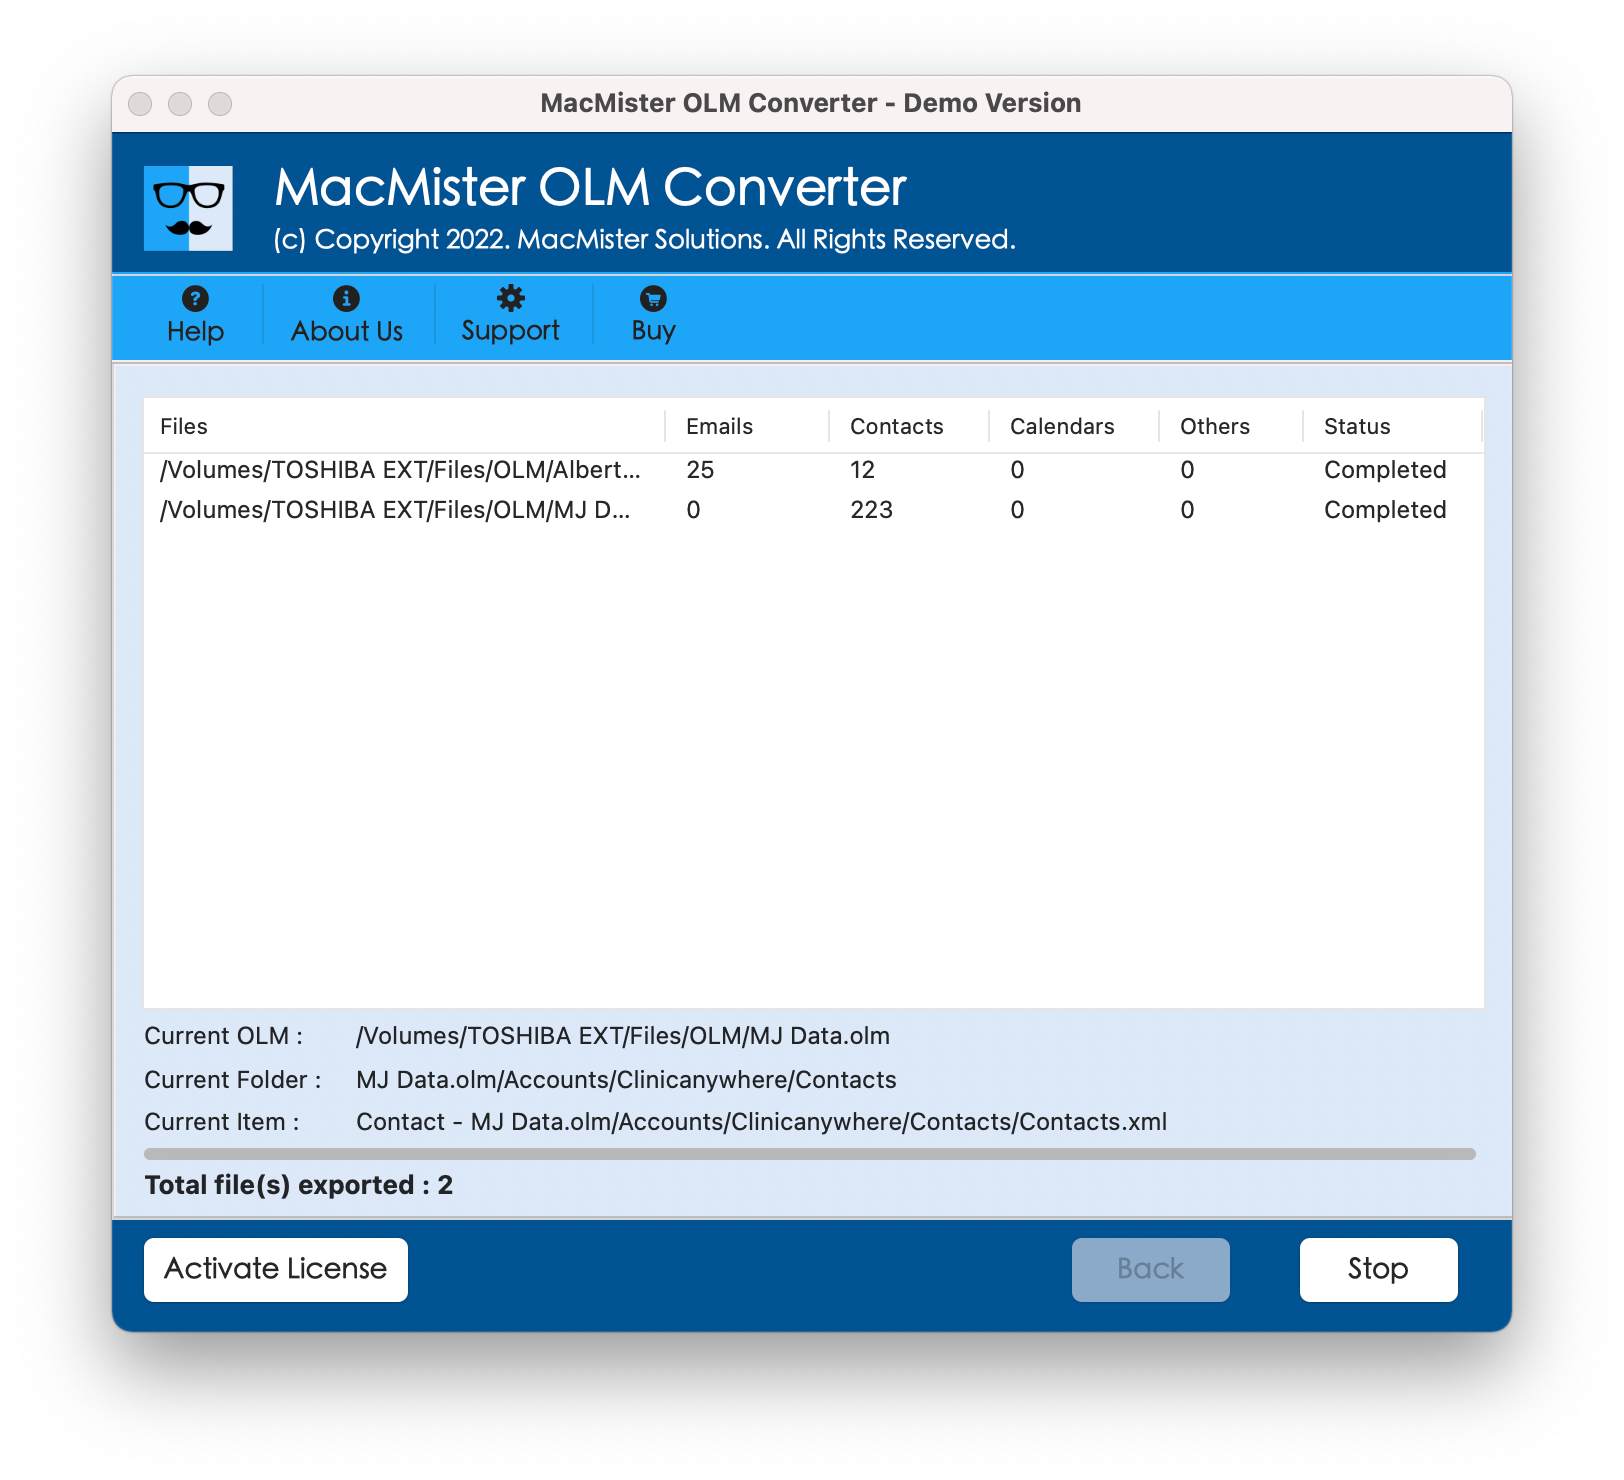
The whole procedure will finish in few seconds and a Conversion Completed message will appear. Click on the OK button and go to Apple Mail to import the resultant MBOX files.
Guide to Transfer Imported Files in Apple Mail on MacBook
- Open Apple Mail email client.
- Click File and choose Import Mailboxes…
- Opt for Files in MBOX format option and click Continue.
- Locate where imported files are saved. Select them and click Choose.
- The import process will finish by enabling the Done Click on it to close the window.
Now, the new imported will appear on the left navigation pane under On My Computer as Import. As you click on it, you will see the INBOX folder displaying with the total of emails. You can open the required email message in Apple Mail and check the result. However, you do not need to worry about the data as it will remain accurate and original during the process. Moreover, no modification will be done in the formatting properties.
Conclusion
The write-up has discussed the procedure of how to create Outlook for Mac archive.olm and also provided the way to access archive.olm file in Mac Mail. The MacMister OLM Converter for Mac is all-in-one solution that allows the batch process and delivers accurate results in a less time. It is a certified and highly recommended tool. Anyone can use it and perform the process without facing any data modifications. Download the software trial edition now and import 25 files from OLM folder to MBOX free of cost.
Also Read – Import Apple Mail MBOX File to PST on Mac